
Back to blog
Pay to Pin on IPFS with x402

It’s no secret that AI agents are the talk of the tech world right now. Everyone is racing to find ways to integrate their systems to take advantage of AI bots making actions on behalf of users, but one problem generally remains: APIs. As we’ve covered with our Model Context Protocol post, AI models are only as good as their context. MCP servers certainly help with that, but they’re still dealing with legacy APIs that need you to sign up first, create an API key, then start accessing that data. Pinata works the same way, but that’s starting to change.
A week or so ago, Coinbase released x402, a new protocol to allow crypto payments for access to API endpoints. Using the HTTP 402 return code, anyone making a request to an endpoint will get a message that a payment is required to access, and if using the SDKs by Coinbase, you can easily make that payment and get access in one simple flow. It’s a powerful idea that enables the access AI agents need. Equipped with just a wallet and some USDC on Base a bot can easily access multiple services, all without an API key. Of course, we had to get in on the action, so we built not only a x402 server for pinning and retrieving content on IPFS, but also a demo that uses Neynar as well to create tokens of the most popular casts on Farcaster, all open sourced. 😎
Setting Up the Server
Coinbase has made x402 relatively simple to setup, even if you need to setup some complex logic. At the time of this writing, there are middleware packages for Express and Hono server setups. We’ve been pretty heavy users of Hono so we went with that one, and setting up the middleware looks something like this:
import type { Context, Next } from "hono";
import type { FacilitatorConfig, PaymentConfig, NetworkType } from "./types";
import { paymentMiddleware } from "x402-hono";
import { createFacilitatorConfig } from "@coinbase/x402";

const PRICE_PER_GB = 0.1;
const MONTHS = 12;

export const createDynamicPaymentMiddleware = (
  receivingWallet: `0x`,
  initialBaseConfig: PaymentConfig,
  initialFacilitatorConfig: FacilitatorConfig | null
) => {
  return async (c: Context, next: Next) => {
    let baseConfig = { ...initialBaseConfig };
    let facilitatorConfig = initialFacilitatorConfig;

    if (!facilitatorConfig) {
      //  Custom config for mainnet to ensure we can get envs from context
      facilitatorConfig = createFacilitatorConfig(c.env.CDP_API_KEY_ID, c.env.CDP_API_KEY_SECRET)
      console.log({ facilitatorConfig })
    }
    if (c.req.method === "POST") {
      const { fileSize } = await c.req.json();

      const fileSizeInGB = fileSize / (1024 * 1024 * 1024);
      const price = fileSizeInGB * PRICE_PER_GB * MONTHS;
      const priceToUse = price >= 0.0001 ? price : 0.0001;
      baseConfig = {
        "/pin/public": {
          price: `$${priceToUse.toFixed(4)}`,
          network: "base" as NetworkType,
          config: {
            description: "Pay2Pin",
          },
        },
        "/pin/private": {
          price: `$${priceToUse.toFixed(4)}`,
          network: "base" as NetworkType,
          config: {
            description: "Pay2Pin",
          },
        },
      };
    } else {
      baseConfig = {
        "/retrieve/private/*": {
          price: "$0.0001",
          network: "base" as NetworkType,
          config: {
            description: "Pay2Read",
          },
        },
      }
    }

    const dynamicPaymentMiddleware = paymentMiddleware(
      receivingWallet,
      baseConfig as any,
      facilitatorConfig
    );

    return dynamicPaymentMiddleware(c, next);
  };
};
For our use case, we had to find a way to make the price dynamic, as pinning content costs us different amounts for how much you pin and for how long as it’s an ongoing cost. We decided on the formula of $0.10/GB * 12 for 12 months of pinning for a file, and then we used createFacilitatorConfig from the x402 SDK so we could pass in the custom logic. After those special rules were applied we could then declare the routes we wanted to paywall:
POST /pin/:networkGET /retrieve/private
Here’s an example of the routes being used for pinning content:
import { Hono } from 'hono'
import type { PaymentPayload } from 'x402/types';
import { PinataSDK } from 'pinata';
import { cors } from "hono/cors"
import type { Bindings } from '../utils/types';

type Network = "public" | "private"

const app = new Hono<{ Bindings: Bindings }>()

app.use(cors())

app.post("/:network", async (c) => {

  const { fileSize } = await c.req.json()

  const network = c.req.param('network') as Network

  const header = c.req.header('X-PAYMENT')
  const headerParsed = header ? JSON.parse(atob(header)) as PaymentPayload : null

  if (!fileSize) {
    return c.json({ error: "Missing fileSize " }, { status: 400 })
  }

  if (network !== 'public' && network !== 'private') {
    return c.json({ error: "Use either public or private routes" }, { status: 400 })
  }

  const pinata = new PinataSDK({
    pinataJwt: c.env.PINATA_JWT
  })

  if (network === 'public') {
    const url = await pinata.upload.public.createSignedURL({
      expires: 30,
      maxFileSize: fileSize + 10000,
      keyvalues: {
        account: headerParsed?.payload.authorization.from || ""
      }
    })
    return c.json({ url: url });
  }
  const url = await pinata.upload.private.createSignedURL({
    expires: 30,
    maxFileSize: fileSize + 10000,
    keyvalues: {
      account: headerParsed?.payload.authorization.from || ""
    }
  })
  return c.json({ url: url });
});

export default app
Due to how x402 works, where the initial request is made, met with the 402 response, then the request made again with the payment, we wanted to avoid actually accepting files as part of the request body. Thankfully, we released a pretty slick upgrade to presigned URLs that can be used to upload files from a client without any API key. Those features include restricting uploads to a specific file size, so based on the file size that the user provides in the request, we can send them a presigned URL that is restricted to that amount. For a user to upload on their end, it looks something like this:
import { wrapFetchWithPayment, decodeXPaymentResponse } from "x402-fetch";
import { account } from "./viem";

const fetchWithPayment = wrapFetchWithPayment(fetch, account);

const url = "<https://402.pinata.cloud/v1/pin/public>";

fetchWithPayment(url, {
  method: "POST",
  body: JSON.stringify({
    fileSize: 5000000,
  }),
})
  .then(async (response) => {
    const body = (await response.json()) as { url: string };

    const uuid = crypto.randomUUID();

    const file = new File([`Paid and pinned by 402.pinata.cloud: ${uuid}`], "file.txt");

    const data = new FormData();
    data.append("network", "public");
    data.append("file", file);

    const uploadReq = await fetch(body.url, {
      method: "POST",
      body: data,
    });

    const uploadRes = await uploadReq.json();
    console.log(uploadRes);
  })
  .catch((error) => {
    console.error(error.response?.data?.error);
  });
By using Web API standards, this can easily be used in both server or client environments, making it flexible and usable anywhere! All you need is a wallet you can make a payment with.
When it comes to retrieving files, IPFS is a public network so you can just use a public gateway like gateway.pinata.cloud to access a file that you’ve uploaded to public IPFS. Now you might have noticed we have a Private IPFS upload as well, so we have a special method setup for how to retrieve those files.
import { Hono } from "hono";
import { PinataSDK } from "pinata";
import { cors } from "hono/cors";
import type { Bindings } from "../utils/types";
import type { PaymentPayload } from "x402/types";

const app = new Hono<{ Bindings: Bindings }>();

app.use(cors());

app.get("/test", async (c) => {
  return c.text("Working!");
});

app.get("/private/:cid", async (c) => {
  try {
    const cid = c.req.param("cid");

    const header = c.req.header("X-PAYMENT");
    const headerParsed = header
      ? (JSON.parse(atob(header)) as PaymentPayload)
      : null;

    if (!cid) {
      return c.json({ message: "CID is required" }, 400);
    }

    const pinata = new PinataSDK({
      pinataJwt: c.env.PINATA_JWT,
      pinataGateway: c.env.PINATA_GATEWAY_URL,
      pinataGatewayKey: c.env.PINATA_GATEWAY_KEY,
    });

    const files = await pinata.files.private
      .list()
      .keyvalues({ account: headerParsed?.payload.authorization.from || "" });

    if (!files.files || !files.files.find((f) => f.cid === cid)) {
      return c.json({ message: "Unauthorized" }, 401);
    }

    const url = await pinata.gateways.private.createAccessLink({
      cid: cid,
      expires: 3000,
    });

    return c.json({ url: url });
  } catch (error) {
    console.log(error);
    return c.json({ message: "Server error" }, 500);
  }
});

export default app;
In order to make sure that only the person who uploaded the file can access the file, we use the x402 headers that designate the identity of the user or agent. Then we can easily make sure it’s the same user by listing files with the keyvalue of that wallet address, and if the match is bad, then we return a 401. If the addresses match, then we can create a download link for the client to use to access the file temporarily!
If you want to use Pinata's x402 server check out the docs here.
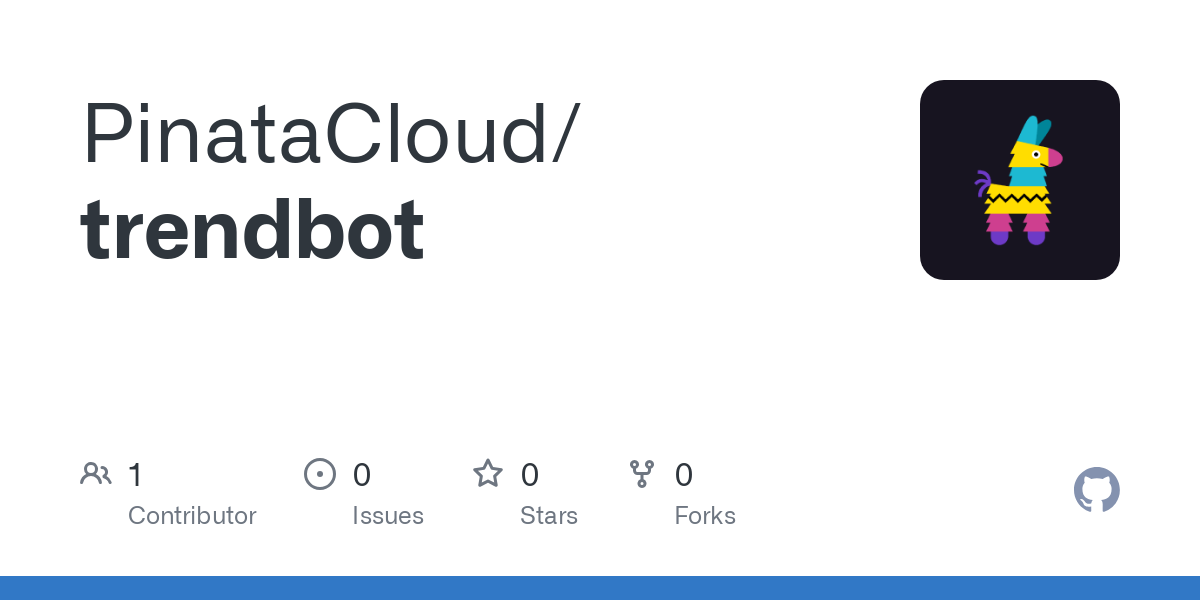
Creating Trendbot
While building all of this was awesome, we needed a way to show how awesome it really is. To do this, we built a demo called Trendbot, and the flow looks something like this:
- Trendbot is given a wallet with some USDC on Base
- Makes a request to Neynar’s x402 endpoint to fetch popular casts on Farcaster
- Uses a local AI model through Ollama to decide which cast to turn into a token
- Generates an image and metadata for the token
- Uploads the image to Pinata through the x402 server
- Creates a token through Neynar’s x402 endpoint using the CID made in the image upload
All of it happens at blazing speeds, and you don’t need to take my word for it: check out the video demo below!
As always, everything from our x402 server to Trendbot are open sourced and can be accessed with the links below.
Wrapping Up
It’s been a wild journey to get where we are now. Pinata has been on the forefront of the NFT and token space as we’ve powered some of its biggest players, building features and boosting reliability as the need arose. We found ourselves building this x402 server in just a day or so using our own tools, enjoying the great developer experience and speed we’ve come to expect from ourselves. Next time you’re thinking of where to store files for your blockchain project, consider Pinata, and perhaps try doing it with x402 😎
Happy Pinning!