
Back to blog

How to Upload Files with Next.js and Pinata

Next.js is, without a doubt, one of the most popular web frameworks used to build apps, with over 125K Github stars and used in over 3 millions projects worldwide. There’s good reasons for this too, as Next makes it pretty easy to launch a simple app and iterate into more advance architecture. If you’re trying to turn an idea into a SaaS you need to be quick and nimble, building out an MVP to see if there’s enough users and interest to justify it long term. Chances are your idea will also need file uploads, and you need something equally easy and fast to implement. Pinata has you covered with an intuitive Files API and first class SDK. Don’t take my word for it, let’s see how easy it truly is!
Setup
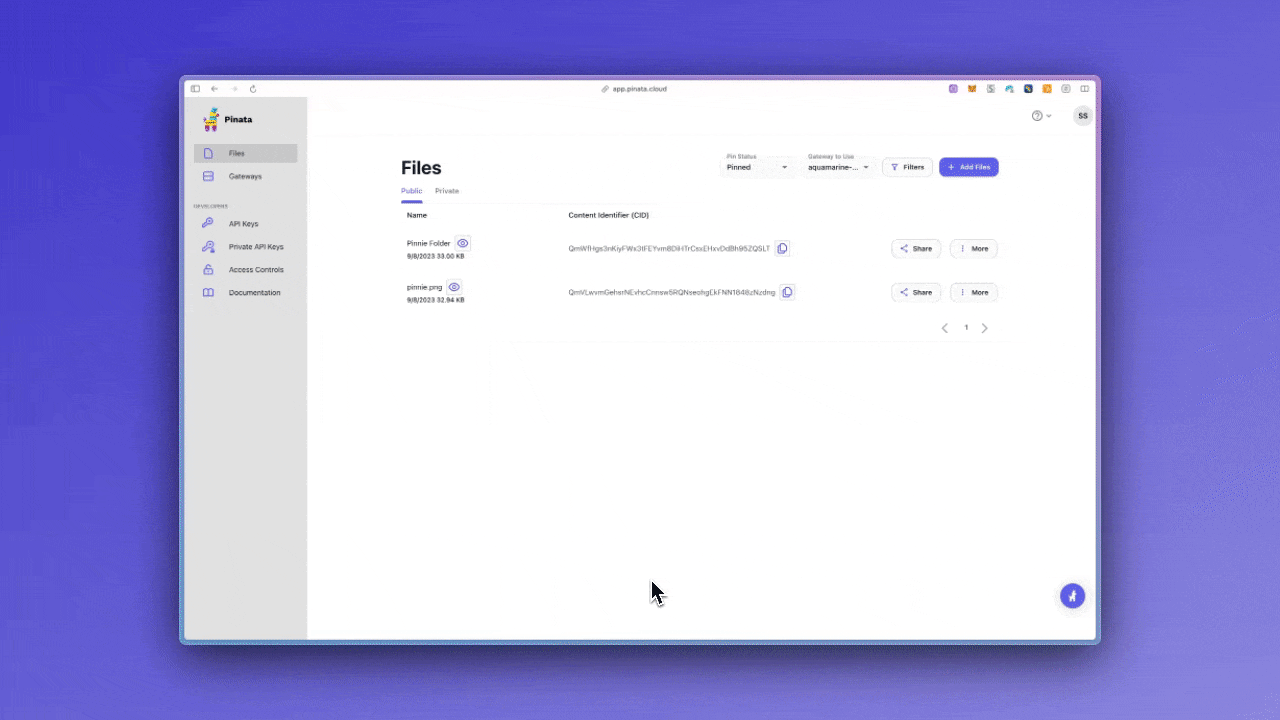
First thing we’ll need to do is sign up for a free Pinata account, giving you plenty of room to test out file uploads. After you’ve made it into the dashboard, you’ll want to make an API key by clicking on the API Keys tab on the sidebar, then clicking New Key in the top right.
Give it a name, and make sure it has Admin level access. Once the key is created you’ll see the pinata_api_key, pinata_api_secret, and JWT. These are only shown once so be sure to copy them somewhere safe; we’ll primarily be using the longer JWT.
After grabbing your API key, you’ll want to grab your Gateway domain by clicking on the Gateways tab on the side. You’ll see the domain in the format of random-example.mypinata.cloud and you’ll want to copy that down too in the exact same format. This is what we will use to retrieve files.
With those set-up, we can go ahead and start up our Next.js app! Open your terminal and run:
npx create-next-app@latest pinata-next
For this tutorial we’ll select all the default options, which is Typescript and Tailwindcss, but you can still follow along without those. Once it has created the repo, we will want to cd into it and install the Pinata SDK.
cd pinata-next && npm i pinata
Once we are inside the project and have installed our dependencies, we will want to make a new file in the root of project called .env.local where we’ll fill in our JWT and the Gateway domain.
PINATA_JWT=
NEXT_PUBLIC_GATEWAY_URL=
Now, we can start writing some code!
Uploading with Pinata
When it comes to using Pinata to upload files in Next, there are two primary methods:
- Server Side - File is sent over an API route and uploaded server side using the primary API key
- Client Side - File is uploaded directly on the client side using a temporary API key
Both of these methods work great and will ultimately depend on your app needs. The server side method is generally less code, however the size of the file that can be passed through and API route in Next is limited. The client side method uses a little more code, but the file size is only limited to what Pinata can handle (which is a lot). For this tutorial we’ll just show the server side method, however, you can find the client side method in our docs.
To start, let’s make a new folder in the root of the project called utils and put a new file inside called config.ts , then paste in the following code:
import { PinataSDK } from "pinata"

export const pinata = new PinataSDK({
  pinataJwt: `${process.env.PINATA_JWT}`,
  pinataGateway: `${process.env.NEXT_PUBLIC_GATEWAY_URL}`
})
All this does is create and export a new instance of the Pinata SDK that we can use throughout the app. Now, back in our main page.tsx file, let’s clear out all the boiler plate and put in this code:
"use client";

import { useState, useRef } from "react";

export default function Home() {
  const [file, setFile] = useState("");
  const [url, setUrl] = useState("");
  const [uploading, setUploading] = useState(false);
  const inputFile = useRef(null);

  const uploadFile = async () => {
    try {
      setUploading(true);
      const data = new FormData();
      data.set("file", file);
      const uploadRequest = await fetch("/api/files", {
        method: "POST",
        body: data,
      });
      const signedUrl = await uploadRequest.json();
      setUrl(signedUrl);
      setUploading(false);
    } catch (e) {
      console.log(e);
      setUploading(false);
      alert("Trouble uploading file");
    }
  };

  const handleChange = (e: any) => {
    setFile(e.target.files[0]);
  };

  return (
    <main className="max-w-[500px] min-h-screen m-auto flex flex-col gap-4 justify-center items-center">
      <input type="file" id="file" ref={inputFile} onChange={handleChange} />
      <button className="bg-white text-black p-2 rounded-md" disabled={uploading} onClick={uploadFile}>
        {uploading ? "Uploading..." : "Upload"}
      </button>
      {url && <a href={url} className="underline" target="_blank">{url}</a>}
    </main>
  );
}
This is a really simple page where we have a function that uploads our file, taking a user input, and then sending it to /api/files using FormData. We can also see that it takes the response of the request and turns it into a URL we can use to view the file. Since we don’t have that API route, let’s make it now by creating an api folder inside of the app folder. Then, make another folder inside of api called files. Finally, make a route.ts file inside of the files directory. Overall, our path should look like app/api/files/route.ts, and we will paste in the code below.
import { NextResponse, NextRequest } from "next/server";
import { pinata } from "@/utils/config"

export const config = {
  api: {
    bodyParser: false,
  },
};

export async function POST(request: NextRequest) {
  try {
    const data = await request.formData();
    const file: File | null = data.get("file") as unknown as File;
    const { cid } = await pinata.upload.file(file)
    const url = await pinata.gateways.createSignedURL({
			cid: cid,
			expires: 3600,
		});
    return NextResponse.json(url, { status: 200 });
  } catch (e) {
    console.log(e);
    return NextResponse.json(
      { error: "Internal Server Error" },
      { status: 500 }
    );
  }
}
The Pinata SDK really makes this simple for us; we simply get the file from the request made by the client, then upload it with await pinata.upload.file(file). This returns a cid or “Content Identifier” which works as a unique hash for our file, which we can use in the next method to make a temporary viewing link for our file. We need this since all files uploaded to Pinata are, by default, private, but could be made public using Groups. In this case, we just returned our signed URL to the client so someone can view or download the file. With everything saved, you can run npm run dev and get a flow like this!
That’s it! You just added file uploads to your Next.js app with just a few lines of code, and that’s how it should be.
Conclusion
Nothing is more valuable than your time, so why waste it with something like S3 that has endless configuration? Get your ideas out there faster and with less pain, and way less code. Check out our docs and see how Pinata can make uploads seamless for your app!