
Back to blog
How to Organize Your NFT Collections With Groups

As one of the leading providers of storage for NFT files, we have seen many different use cases and project types in the space. These range from individual artists to project collectives to DAOs to development studios. In all cases, it’s likely that whomever is launching the NFTs will likely launch multiple collections. However, this presents an organizational challenge. When uploading and storing thousands of JSON files and thousands of media files for NFTs on IPFS, how do you easily organize and find these files?
This is where Pinata Groups comes in.
What are Groups
Groups are like folders without the baggage. Groups are like tags without the confusion. Groups are an organizational tool that allows you to easily put similar files in the same location.
With Groups, you can organize public IPFS files or private IPFS files into dedicated groupings. It’s as simple as logging into the web app and clicking the ‘Add Group’ button or using the API.
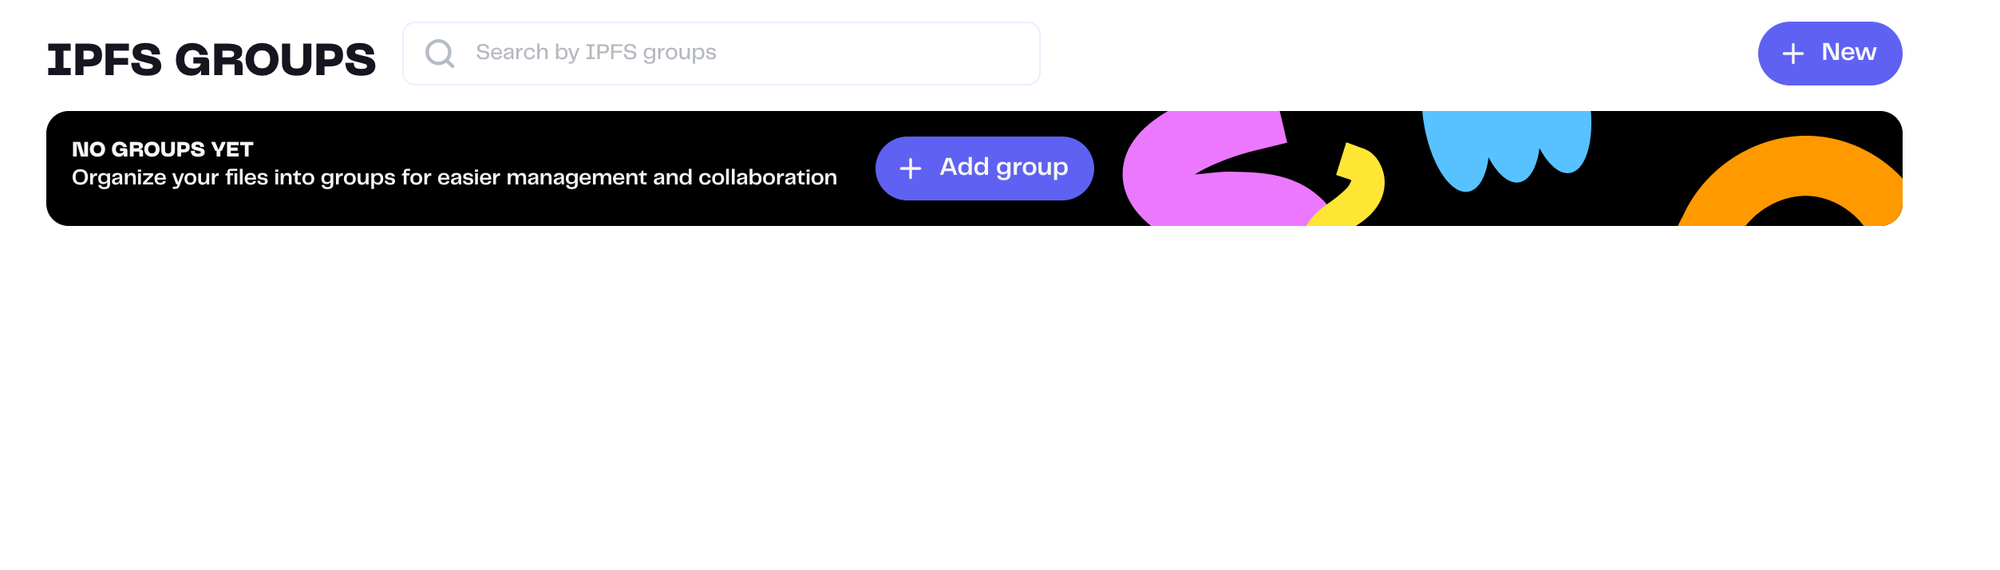
When you’ve created a group, you can start adding your existing files to it through the web app or the API. If you are using the web app, you can simply select the files you’d like to move into your Group and click the ‘Add To Group’ button.

Finding files in a Group is simple. Click on the name of your Group, and you’ll be able to see and search all the files in that Group without having to deal with unrelated files.
Adding File To Groups
When launching an NFT collection, there are two ways to get the files associated with your NFTs onto IPFS. You can use the web app, or you can use the API. Let’s look at how we add the files using each method.
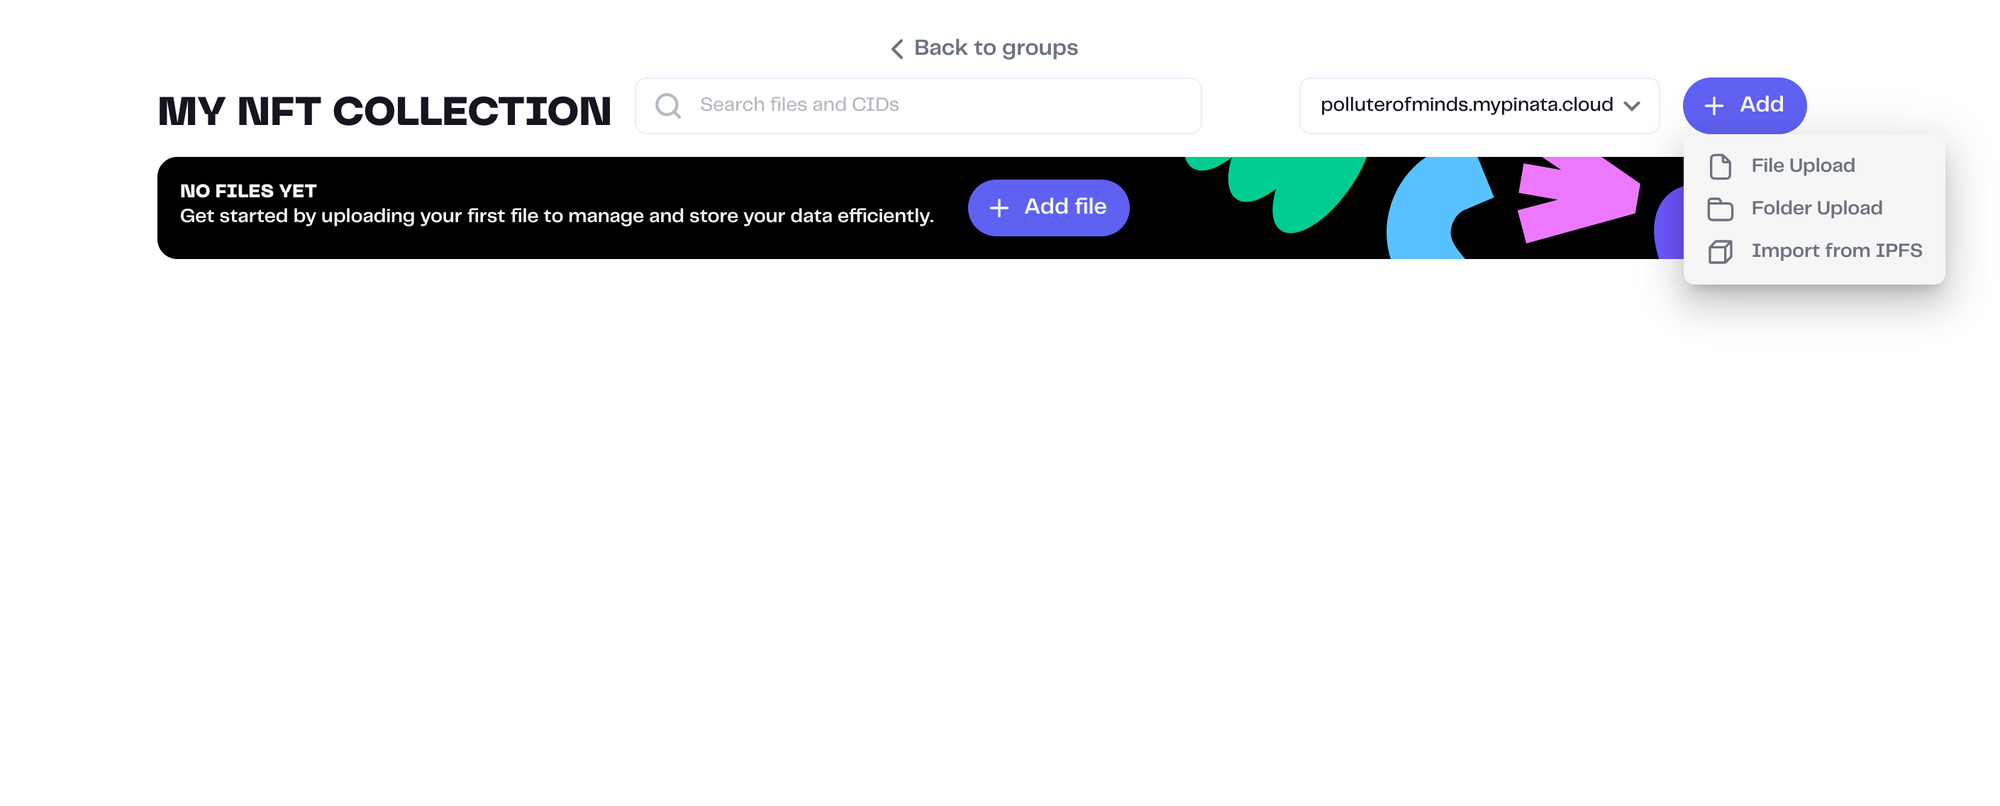
Web App
From the web app, click the Groups link. Then, click the name of the Group. From there, you can choose to upload individual files or you can upload a folder. Just make sure that, if you upload a folder, you understand how that works in the context of your smart contract or token protocol.
API
Uploading through the API is simple if you have some technical experience. You’ll need your Group ID. You can get this through the API, but I find it much easier to just log into the web app and go to the Group and grab the ID from the URL:
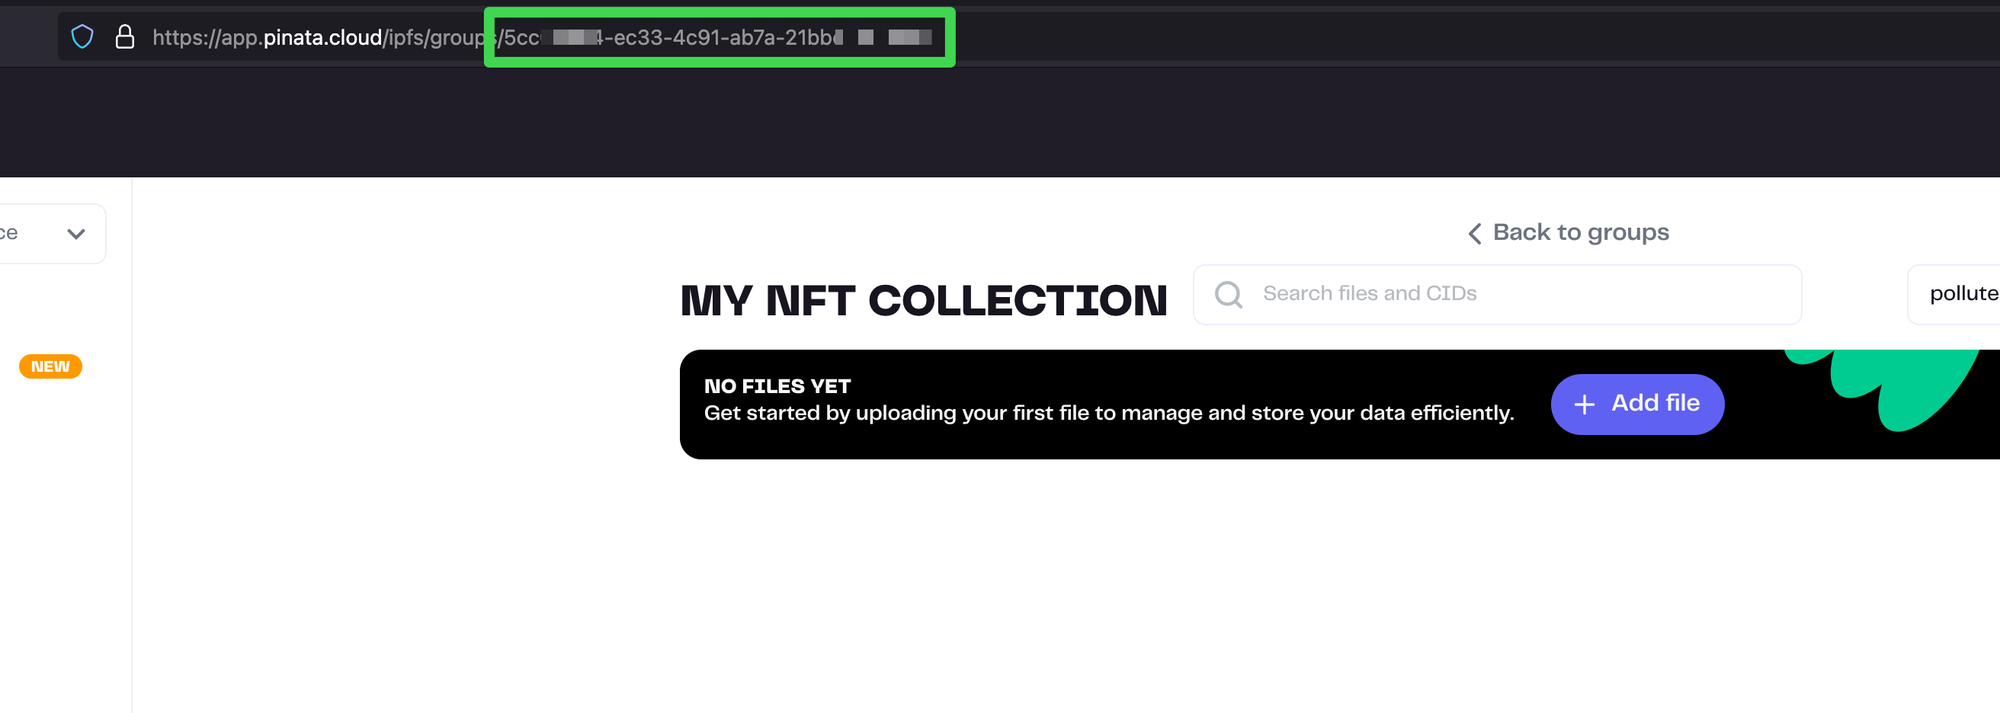
With the Group ID, you can upload files or folders to the Group like this:
const upload = await pinata.upload
  .file(file)
  .group("b07da1ff-efa4-49af-bdea-9d95d8881103")
Managing Your Collections
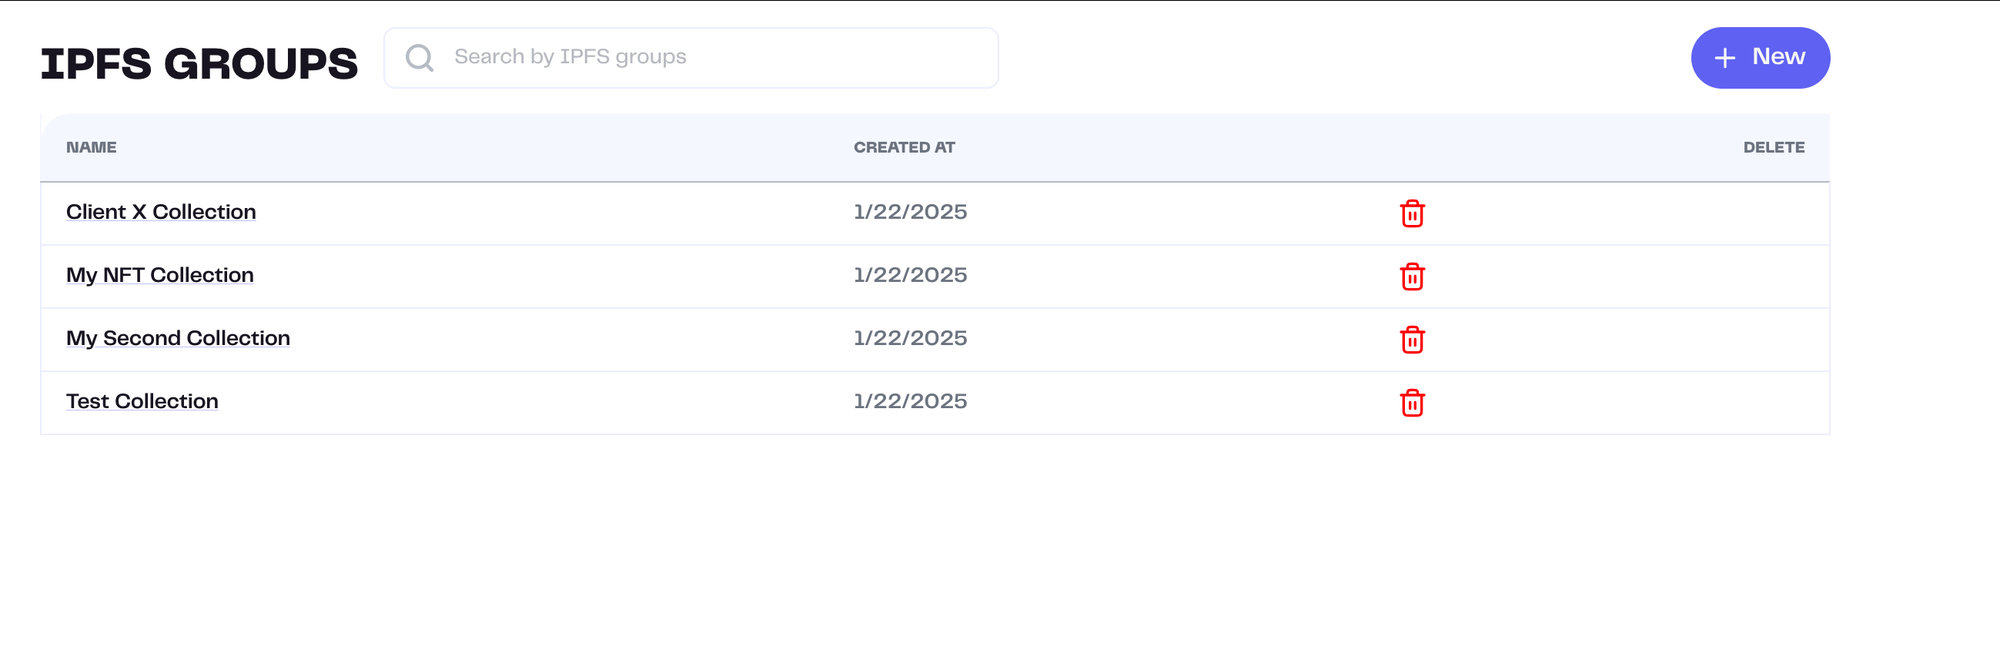
When you’ve launched your NFT collection, you may need to come back and find specific files for various reasons. This is so much simpler thanks to Groups. Go to the Groups tab and you’ll see all your NFT collections listed as Groups.
You can also list your Groups through the API like this:
const files = await pinata
  .listFiles()
  .group('648767d5-0a80-4b3a-9669-93693e4a0519')
Now, you can see and manage all of your NFTs without having to sort through unrelated collections.
Conclusion
Pinata Groups are a perfect feature for NFTs. They are flexible and simple enough to solve for a wide range of NFT use cases. Whether your an artist or a developer, you can use Pinata Groups to make your life so much easier.
If you’re not using Groups yet, sign up for free today!
Happy Pinning (and grouping)!