
Back to blog

How To Build An AI-Powered App To Chat With Your CSVs

How many millions of dollars have been made on “Chat With Your PDF” style apps? Chatting with documents has become incredibly popular, so let’s build a similar type of app focused on CSVs. While I can’t guarantee you will be able to capture any of those millions of dollars, I can show you how to build the app quickly using Pinata and OpenAI.
Today, we’re going to build a simple app that allows you to upload a CSV and chat with it. But what does that actually mean? In practice, chatting with a document is simply asking questions about the content of said doc. In many tutorials, you’ll see that the process requires you to send the actual file to OpenAI or the AI provider of your choice. This can get expensive, and you might not be comfortable giving OpenAI ongoing access to your files. So, we’re going to take a simpler approach. We’re going to convert the PDF or CSV into an AI-readable format so you can store the files privately with Pinata (using the Files API) and only expose what you need to the AI model.
Let’s dive in!
Getting Started
For this project, we’ll need an OpenAI account. You can sign up here. We’ll also need a free Pinata account. We’re going to use Bun to spin up our Typescript-based server, and we’ll need a code editor.
We’ll build a simple interface using plain HTML and JavaScript and we’ll serve that file from the Bun server.
Let’s go ahead and create the initial scaffolding that we will use to build the rest of the app. Fire up your terminal and change into the directory you use for your development projects. Then, install Bun globally by following the guide here. Once that process is done, you can create a new Bun app by running the following command:
mkdir file-chat && cd file-chat && bun init -y
You will now have a very simple Bun application written in Typescript. If you open the project in your code editor of choice, you’ll see that you have a single index.ts file. That file will print a console.log statement. You can see this working by running bun indext.ts.
Now, let’s install some dependencies, including the Pinata SDK and the OpenAI SDK:
npm i pinata openai
With those dependencies installed, we’re ready to start building our app.
Building the Interface
We’ll use Bun as our server and as our client. This means we’ll need to generate a static HTML file for use on the frontend. Let’s start there.
Our frontend will have a simple interface that allows a user to upload a file and chat. Chat should be disabled until the file is uploaded. The chat section should include responses from the AI model and the user’s messages.
Go ahead and create an index.html file at the root of your project. Inside that file, add the following:
<!DOCTYPE html>
<html lang="en">
  <head>
    <meta charset="UTF-8" />
    <meta name="viewport" content="width=device-width, initial-scale=1.0" />
    <title>File Upload and Chat</title>
    <style>
      body {
        font-family: Arial, sans-serif;
        margin: 20px;
      }
      .container {
        max-width: 600px;
        margin: auto;
      }
      .file-upload {
        margin-bottom: 20px;
      }
      .chat-section {
        border: 1px solid #ccc;
        padding: 10px;
        border-radius: 5px;
        height: 300px;
        overflow-y: auto;
      }
      .chat-input {
        margin-top: 10px;
      }
      .message {
        margin: 10px 0;
      }
      .message.user {
        text-align: right;
        color: blue;
      }
      .message.bot {
        text-align: left;
        color: green;
      }
    </style>
  </head>
  <body>
    <div class="container">
	    <div id="existing-file"></div>
      <!-- File Upload Section -->
      <div class="file-upload">
        <label for="file-input">Upload CSV:</label>
        <input
          type="file"
          id="file-input"
          accept=".csv"
          onchange="handleFileSelection()"
        />
        <button id="upload-button" onclick="uploadFile()" style="display: none">
          Upload
        </button>
      </div>

      <!-- Chat Section -->
      <div class="chat-section" id="chat-section">
        <!-- Chat messages will appear here -->
      </div>

      <!-- Chat Input -->
      <div class="chat-input">
        <input
          type="text"
          id="chat-input"
          placeholder="Type your message..."
          disabled
        />
        <button id="send-button" onclick="sendMessage()" disabled>Send</button>
      </div>
    </div>

    <script>
      const chatSection = document.getElementById("chat-section");
      const uploadButton = document.getElementById("upload-button");
      const chatInput = document.getElementById("chat-input");
      const sendButton = document.getElementById("send-button");

      function handleFileSelection() {
        const fileInput = document.getElementById("file-input");
        if (fileInput.files.length > 0) {
          uploadButton.style.display = "inline-block";
        } else {
          uploadButton.style.display = "none";
        }
      }

      async function uploadFile() {
        const fileInput = document.getElementById("file-input");
        const file = fileInput.files[0];

        if (!file) {
          alert("No file selected!");
          return;
        }

        const formData = new FormData();
        formData.append("file", file);

        try {
          const response = await fetch("/upload", {
            method: "POST",
            body: formData,
          });

          if (!response.ok) {
            throw new Error("File upload failed!");
          }

          const result = await response.json();
          console.log("File uploaded successfully: " + result.filename);

          // Enable chat input and send button after upload completes
          chatInput.disabled = false;
          sendButton.disabled = false;

          // Reset file input and upload button
          fileInput.value = "";
          uploadButton.style.display = "none";
        } catch (error) {
          alert("Error uploading file: " + error.message);
        }
      }

      function sendMessage() {
        const message = chatInput.value.trim();

        if (message) {
          displayMessage(message, "user");
          chatInput.value = "";
        }
      }

      function displayMessage(message, sender) {
        const messageDiv = document.createElement("div");
        messageDiv.classList.add("message", sender);
        messageDiv.textContent = message;
        chatSection.appendChild(messageDiv);
        chatSection.scrollTop = chatSection.scrollHeight; // Scroll to the bottom
      }
    </script>
  </body>
</html>
I’ve added some simple styling but you’re welcome to change and improve upon that. The index.html file has an upload file picker, a chat window, and a message input. Like I said, pretty straight forward.
Now, we need to make Bun serve this file. Open your index.ts file and add the following:
Bun.serve({
  async fetch(req) {
    const url = new URL(req.url);
    if (url.pathname === "/") {
      return new Response(Bun.file("./index.html"))
    };
    if (url.pathname === "/upload") {

    }
    return new Response("404!");
  },
});
Yeah, it’s that easy to create a web server using Bun. And serving static files through that web server is equally easy. We have the main route at / serving the index.html file. We also have stubbed out the upload route which we’ll use for submitting our file and uploading to Pinata.
Let’s test this out. You can run your bun server with the following command:
bun --hot index.ts
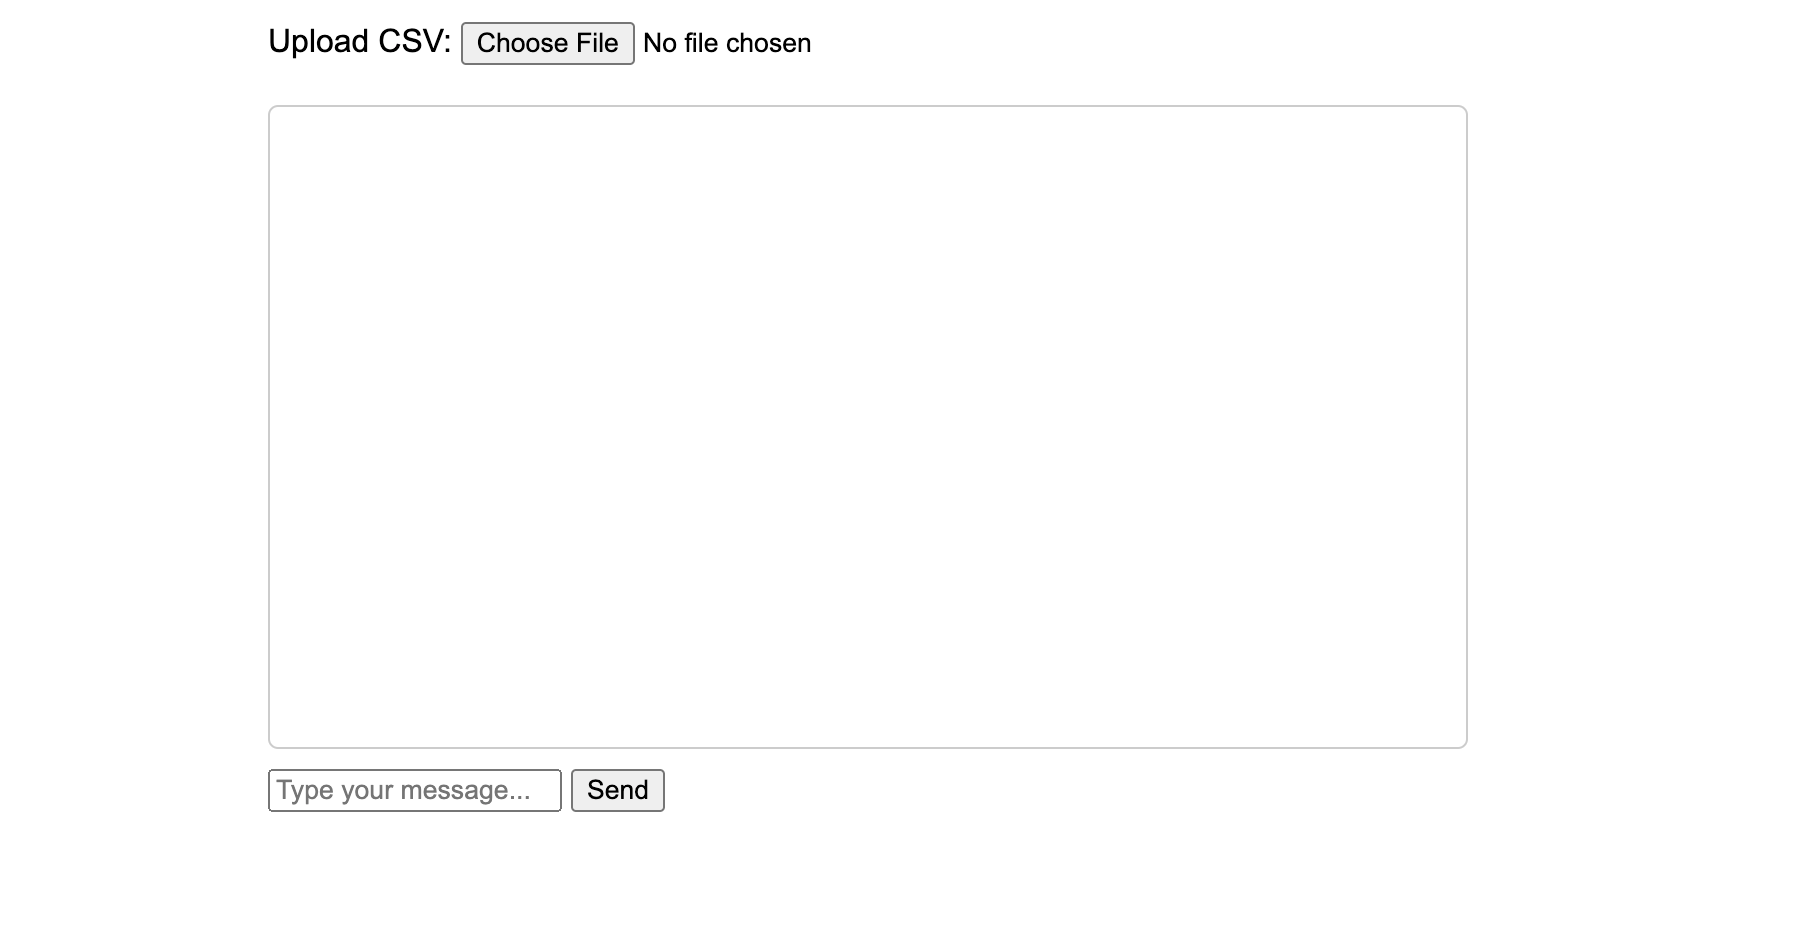
The --hot flag will allow your Bun server to rebuild and update with each change. It’s great for local development. If you visit localhost:3000 you should see something like this:
Now, we need to make sure when we send our file to the /upload route on the server that we can upload it to Pinata and return the file’s content identifier (CID). Let’s do that now.
In the index.ts file, add this to the top:
import { PinataSDK } from "pinata";

const pinata = new PinataSDK({
  pinataJwt: process.env.PINATA_JWT,
  pinataGateway: process.env.PINATA_GATEWAY,
});
We need to add both the PINATA_JWT and the PINATA_GATEWAY variables to a .env file. So, first, create a .env file in the root of your project. Then, sign into your Pinata account and navigate to the API Keys page. Create a new API key (make it an admin key), then save the JWT you receive in your .env file like this:
PINATA_JWT=YOUR PINATA JWT
Next, navigate to the Gateways page and copy your Gateway URL. Add that to your .env file like this:
PINATA_GATEWAY=YOUR GATEWAY URL
Stop your Bun server then restart it to make sure the .env file is picked up. After that, back in the index.ts file, find the /upload route and add the following:
if (req.method === "POST") {
  try {
    const formData = await req.formData()
    const file: any = formData.get("file")
    if(!file) {
      return new Response("No file provided", { status: 400 })
    }
    const upload = await pinata.upload.file(file);

    return new Response(upload.cid, { status: 201 });
  } catch (error) {
    console.log(error)
    return new Response("Server error", { status: 500 });
  }
}
This is a very simple upload endpoint. It takes the form data file that we send from the client and it uploads to Pinata. When done, it returns the file’s content identifier. We’ll use that CID on the frontend in just a moment.
Back in your index.html file, find the uploadFile function and find the result of the POST to the /upload endpoint. Change that to look like this:
const result = await response.text();
console.log("File uploaded successfully: " + result);

localStorage.setItem("cid", result)
We’re taking the result, which should be the file’s CID, and we’re storing it in local storage. Why? Because we’ll use that to fetch the correct file during chat. While we’re at it, we should also update the chat input to be enabled if there is a CID found in local storage. We should also indicate to the user if there’s a file that they are able to chat with.
Speaking of chat, it’s time to start working on that. In your index.html file, inside the <script> tag, check local storage when the DOM content has loaded like this:
const chatSection = document.getElementById("chat-section");
const uploadButton = document.getElementById("upload-button");
const chatInput = document.getElementById("chat-input");
const sendButton = document.getElementById("send-button");
const existing = document.getElementById("existing-file")

document.addEventListener("DOMContentLoaded", () => {
  const cid = localStorage.getItem("cid")
  if(cid) {
	  existing.innerText = `You're currently chatting with file CID: ${cid}`
    chatInput.disabled = false;
    sendButton.disabled = false;
  }
})

...
Now, when you refresh your browser, you can still chat with the file you uploaded previously. In a production app, you’d probably manage this with a database or possible Hot Swaps.
Chat With Your Files
To chat with our files, we need to do a few things:
- Load the existing chat messages for the file
- Fetch the file and convert it into useful text format for our first message
- Use OpenAI’s API to generate messages based on the content and the user’s chat message
- Store the whole chat history
Let’s start by getting the chat history. In your index.ts file, let’s create a new route called /chat. This route will take a dynamic path query that represents a CID for fetching the chat message history. We’ll need to specify that this is a GET route. Add this to your Bun server:
if(url.pathname.includes("/chat/")) {
  if(req.method === "GET") {
    const cid = url.pathname.split("chat/")[1]
    if(!cid) {
      return new Response("No CID provided", { status: 400 })
    }
  }
}
Notice that we are not checking for an exact pathname match but instead checking to see if the pathname includes /chat? This allows us to then get the dynamic CID value from the rest of the path.
We’ll touch on where that CID comes from soon, but for now, let’s use our Pinata Gateway to fetch the chat history file. Update that entire route to look like this:
if (url.pathname.includes("/chat/")) {
  if (req.method === "GET") {
    try {
      const cid = url.pathname.split("chat/")[1]
      if (!cid) {
        return new Response("No CID provided", { status: 400 })
      }

      try {
        const file = await pinata.gateways.get(cid)
        return Response.json({ messages: file }, { status: 200 })
      } catch (error) {
        //  This is a stopgap for if the CID doesn't exist. We should just return an empty array
        return Response.json({ messages: [] }, { status: 200 })
      }
    } catch (error) {
      console.log(error)
      return new Response("Server error", { status: 500 });
    }
  }
}
Notice that, in addition to wrapping the entire route in a try/catch, we have a nested try/catch specifically for fetching the chat messages file? This is because we don’t want to generate a server error if the chat messages file doesn’t exist. Instead, we want to return an empty json array for the messages. Otherwise, we return the results of the file.
We use the Pinata SDK to fetch the file. The cool thing about this method is it automatically creates a time-limited signed URL and fetches the file so we can read it directly in our server code.
Ok, now we need to connect the frontend to this endpoint. Let’s open the index.html file again. We’re going to make one small change to our DOM content event listener and then we’re going to create a function to load our chat messages.
...
let chatMessages = []

document.addEventListener("DOMContentLoaded", () => {
  const cid = localStorage.getItem("cid")
  if(cid) {
	  existing.innerText = `You're currently chatting with file CID: ${cid}`
    chatInput.disabled = false;
    sendButton.disabled = false;
    loadChatMessages()
  }
})

async function loadChatMessages() {
  const fileCid = localStorage.getItem("cid")
  let chatCid = null;
  if(fileCid) {
    chatCid = localStorage.getItem(fileCid)
  }

  if(chatCid) {
    const response = await fetch(`/chat/${chatCid}`)
    const messages = await response.json()
    chatMessages = messages;
  }
}
...
First, we create a new variable called chatMessages. Then, in the event listener, we added a call to the loadChatMessages function. Finally, we create the loadChatMessages function. This function should make a call to our /chat/ endpoint but only if there is a chat messages CID stored locally. The chat messages CID is mapped to the file CID we got back from uploading our file. We will constantly update this mapping each time the chat history is updated. Right now, there is no history, so the fetch call won’t be executed.
We’ve knocked out step one! We’re going to knock out steps two through four in a couple more changes. Let’s start by updating the sendMessage function in the index.html file. Find that function and change it to look like this:
async function sendMessage() {
  const message = chatInput.value.trim();
  const cid = localStorage.getItem("cid")
  const messagesCid = localStorage.getItem(cid)
  if (message) {
    displayMessage(message, "user");
    chatInput.value = "";
    const cid = localStorage.getItem("cid")
    const res = await fetch(`/chat/${cid}`, {
      method: "POST",
      headers: {
        'Content-Type': 'application/json'
      },
      body: JSON.stringify({
        message,
        messagesCid
      })
    })

    const json = await res.json()
    localStorage.setItem(cid, json.messagesCid)
    displayMessage(json.message, "bot")
  }
}
We are loading both the file (the original CSV) CID from local storage and the messages CID. As you’ll soon see, we’ll be storing the chat messages as a JSON file privately on Pinata as well. We’ll return an updated CID each time the array of messages is updated. For the first message, the messagesCid will be null, but that’s fine.
The response from this POST request will include the AI chatbot’s message back as well as the new CID for the messages to store in local storage.
Now, let’s connect this to the server code. Open the index.ts file and let’s import and configure the OpenAI SDK. At the top of the file, add this:
import OpenAI from "openai";

const openai = new OpenAI({ apiKey: process.env.OPEN_AI_KEY })
You’ll need to log into your OpenAI API account and generate an API key. Then you need to add it to your .env file like this:
OPEN_AI_KEY=YOUR OPEN AI KEY
Now, back in the index/ts file, let’s update the /chat/ route POST method handler inside the else if (req.method === "POST") {} to look like this:
try {
    //  The body will have the chat message
    const body: any = await req.json()

    //  Get the file we're using
		const result: any = await pinata.gateways.get(cid)
    const text = result.data

    //  Message history
    let messages: any = []
    if (body.messagesCid) {
      const res = await pinata.gateways.get(body.messagesCid)
      messages = res.data;
    }
    const systemMessage = [{ role: "system", content: `You are a helpful assistant answering questions about a document represented like this: ${text}` }]

    const openAiMessages = [...messages, ...systemMessage]

    openAiMessages.push({
      role: "user",
      content: body.message
    })

    const completion = await openai.chat.completions.create({
      messages: openAiMessages,
      model: "gpt-4o",
    });

    //  Save message history without system message
    messages.push(completion.choices[0].message)
    console.log({ messages })
    const upload = await pinata.upload.json(messages)

    return Response.json({ message: completion.choices[0].message.content, messagesCid: upload.cid })
  } catch (error) {
    console.log(error)
    return new Response("Server error", { status: 500 });
  }
}
In this endpoint, we are first loading the CSV file from Pinata and reading it as text. We then load the messages file from Pinata if we’re provided with a messagesCid. If we aren’t we just have an empty array for the messages variable.
Next, we create a system message to use with our chat bot. This sets the expectations for the model. We pass in instructions and include the text result of our CSV file. Then we use that and our existing (or empty) messages array to create a new array that will be used with OpenAI’s chat completion API.
When we get a response from the OpenAI API, we update our messages array and we upload that to Pinata as JSON. We then return the resulting CID from that upload and the message from the AI model.
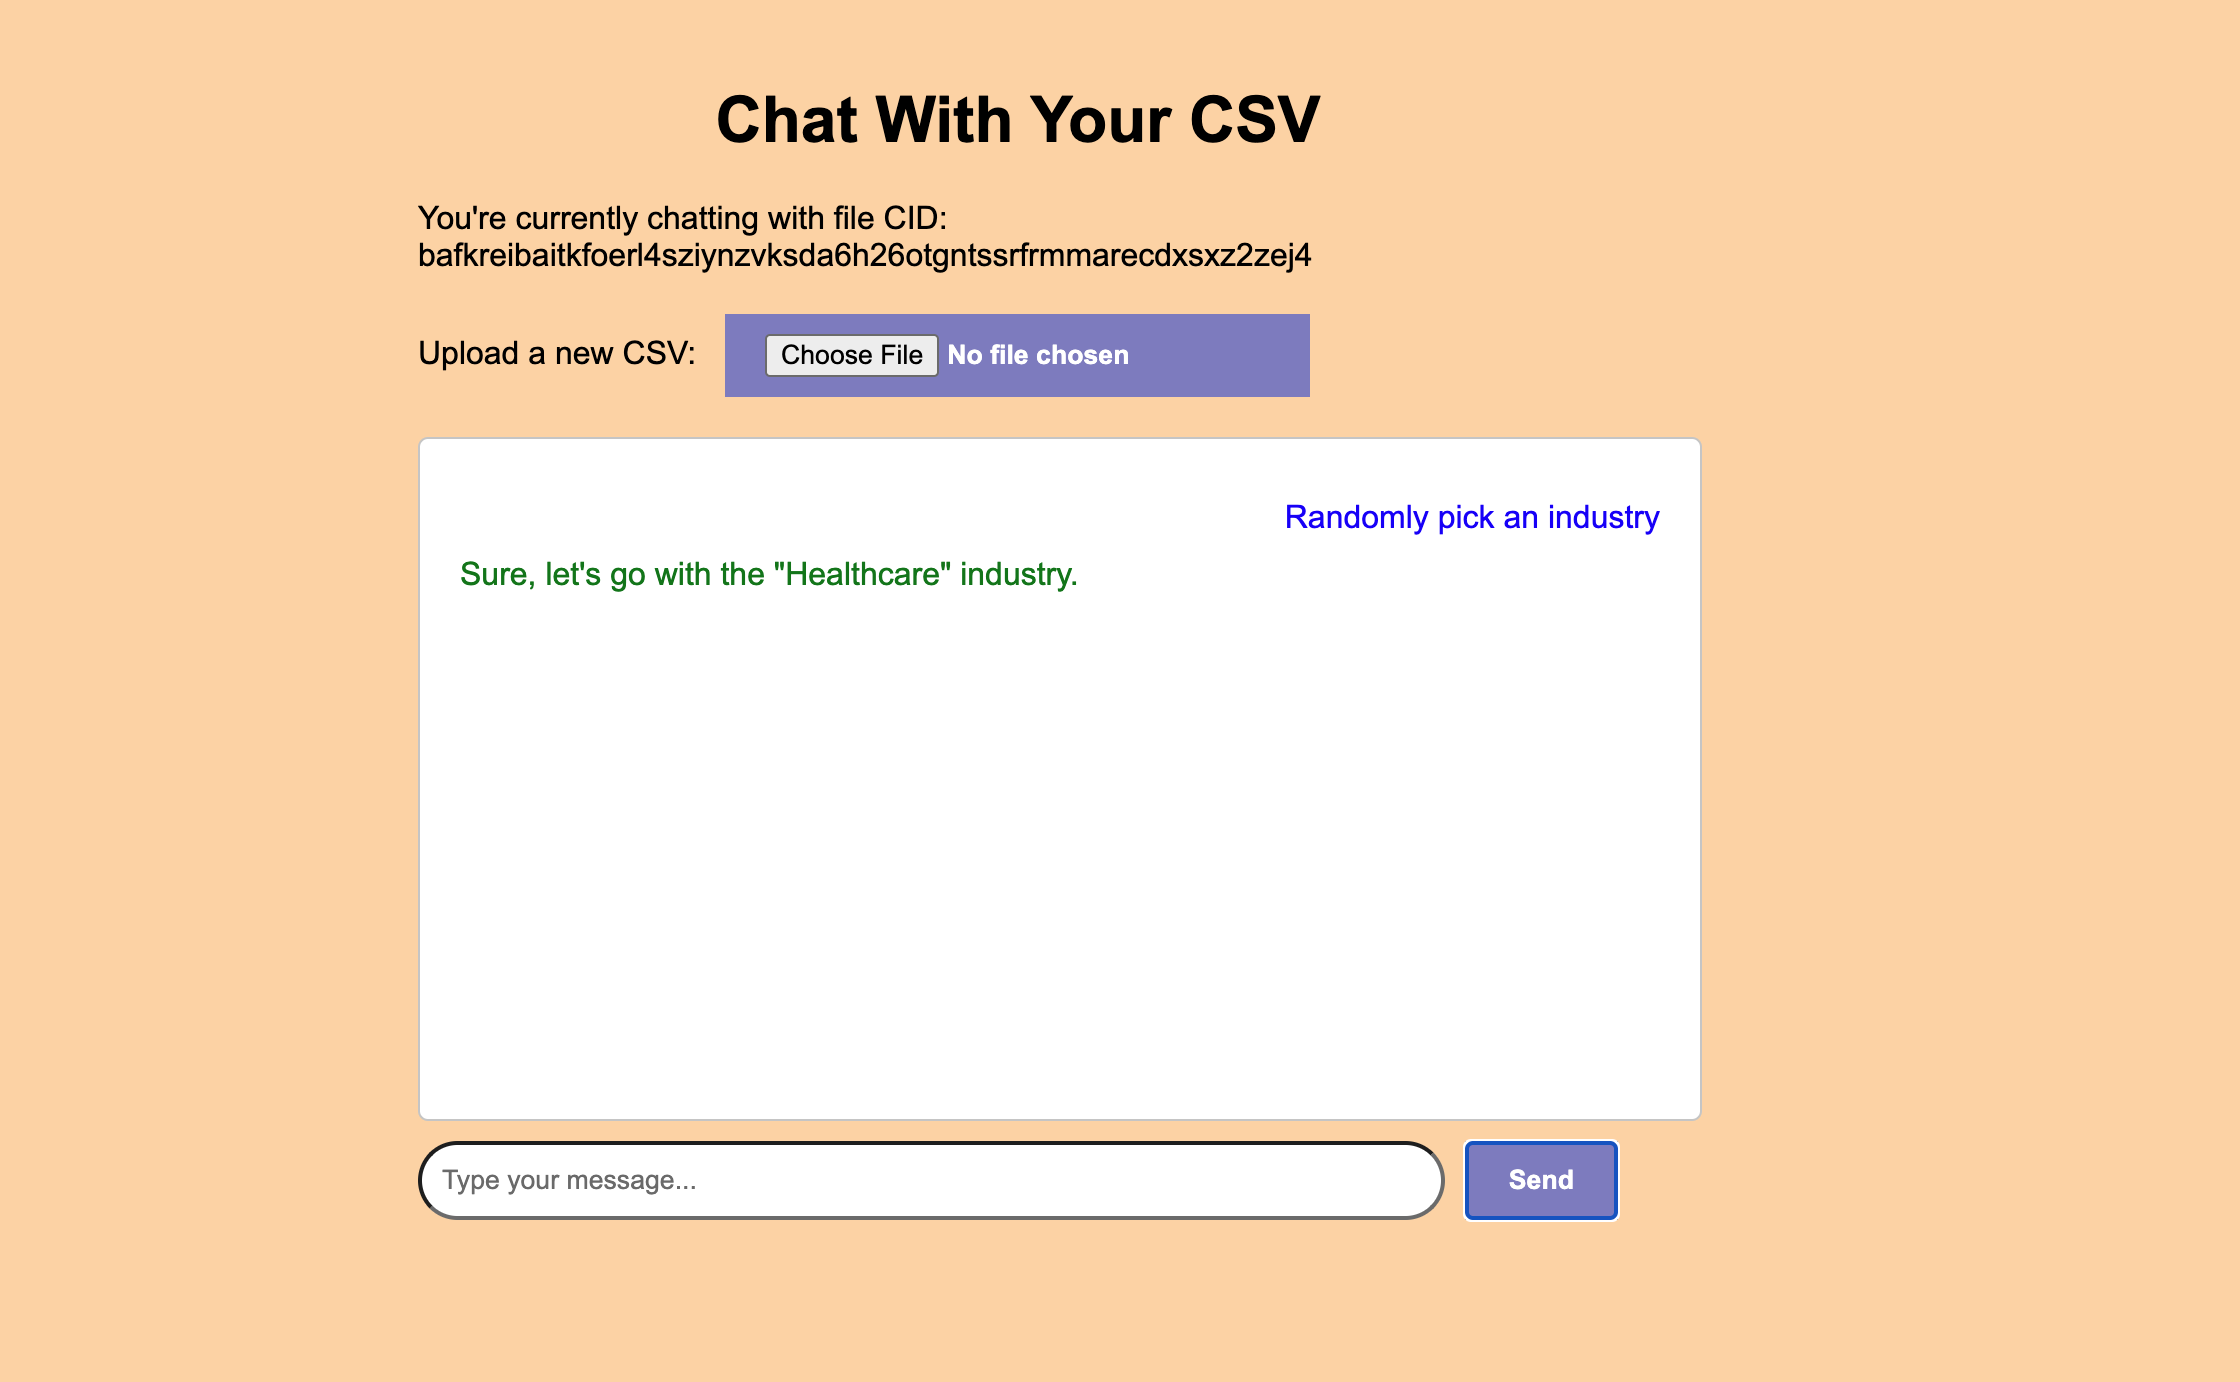
That should do it! You can now upload a CSV and chat with it. Go ahead and restart your server and give it a try. I cleaned up the CSS in my app, but functionally it should work exactly like yours does. Here’s what I have:
Conclusion
With only two dependencies, Pinata and OpenAI, we built a fully functioning AI-powered app to chat with CSV files. We also did it with reduced cost and increased privacy by keeping the file stored privately on Pinata and only exposing a text representation of it to OpenAI.
This app is a starting point. It can be improved, remixed, and changed entirely. The baseline of file storage and retrieval is simple and flexible which means you can lean into your creativity and not get bogged down in the implementation details. Happy Building!